Bleached denim is making a comeback. Are you ready to relive this ‘80s fashion trend with us? Our in-house tailor Sara Chalupnicek shows us how to create a gel-like bleach mixture that's easier to control than most liquid bleaching agents. Below, Sara takes us through all the steps of bleaching a denim jacket.
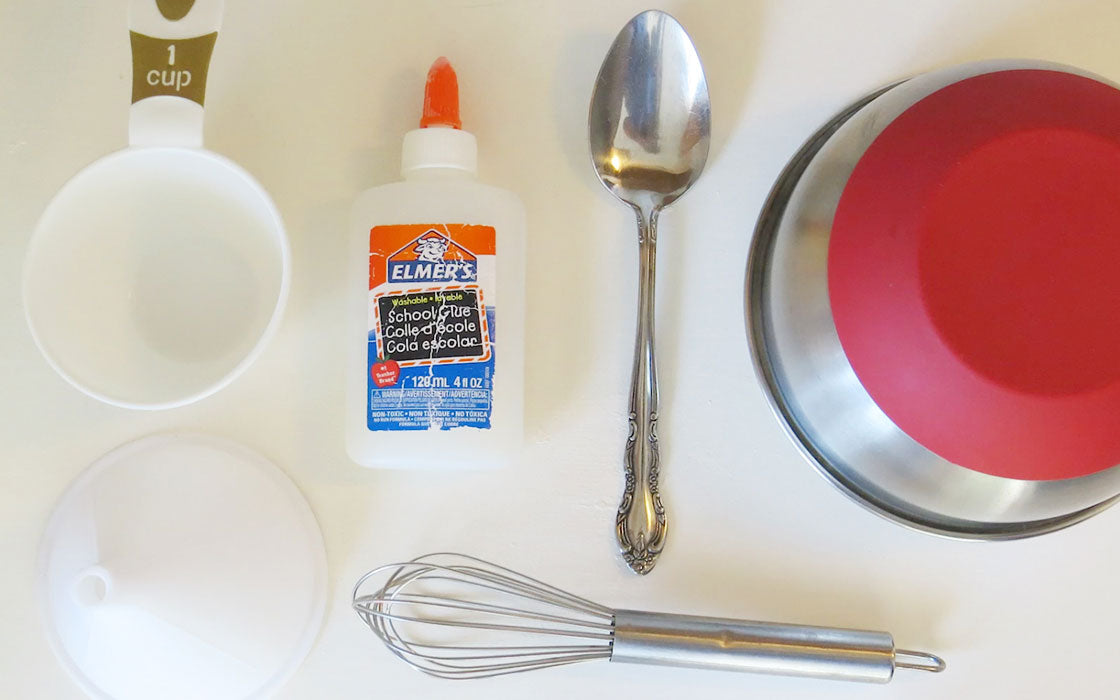
WHAT YOU'LL NEED
- Trucker Jacket
- Measuring cup
- Measuring spoon
- Saucepan
- Metal whisk
- Metal bowl
- Funnel
- Small squeeze bottle
- Water
- Cornstarch
- Bleach
- Cardboard
- Fabric scrap
- Gloves
STEP 1
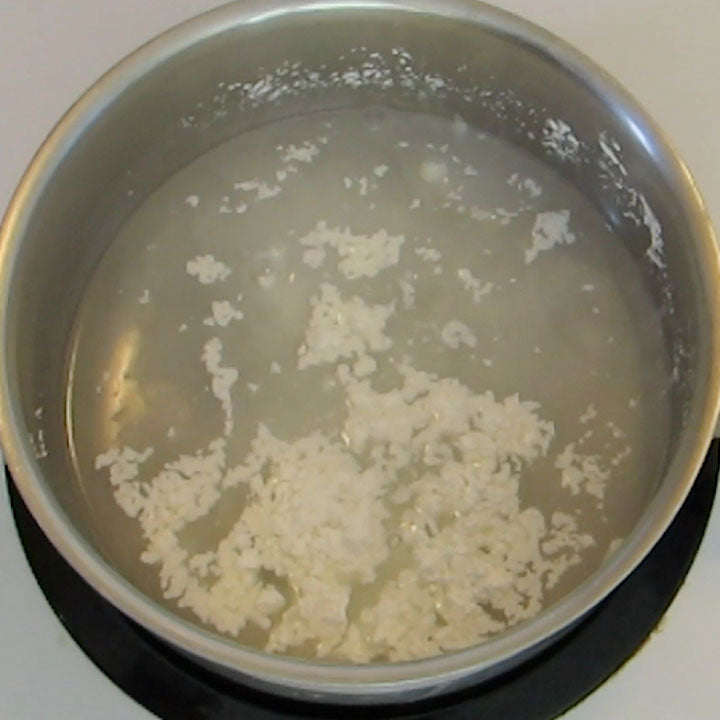
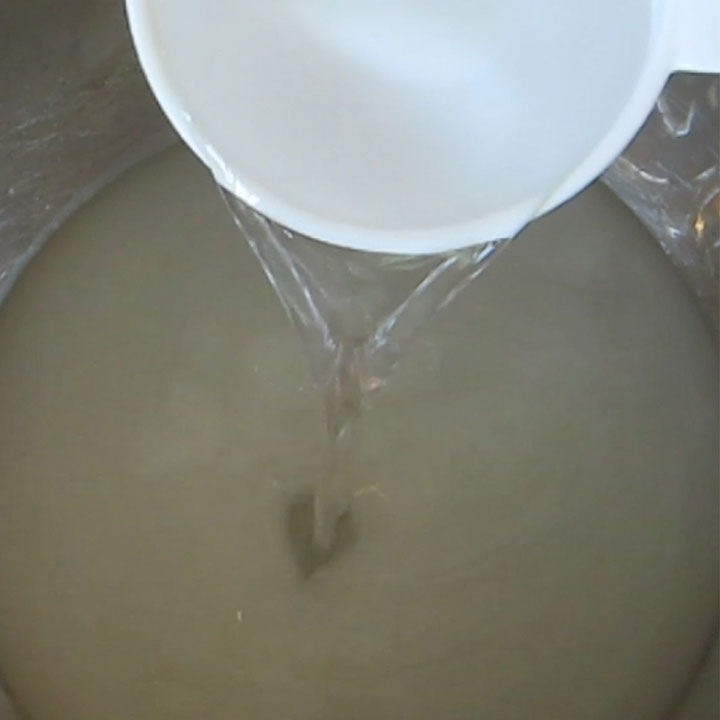
Place a small saucepan on the stove. Add one cup of warm water and three tablespoons of cornstarch.
STEP 2
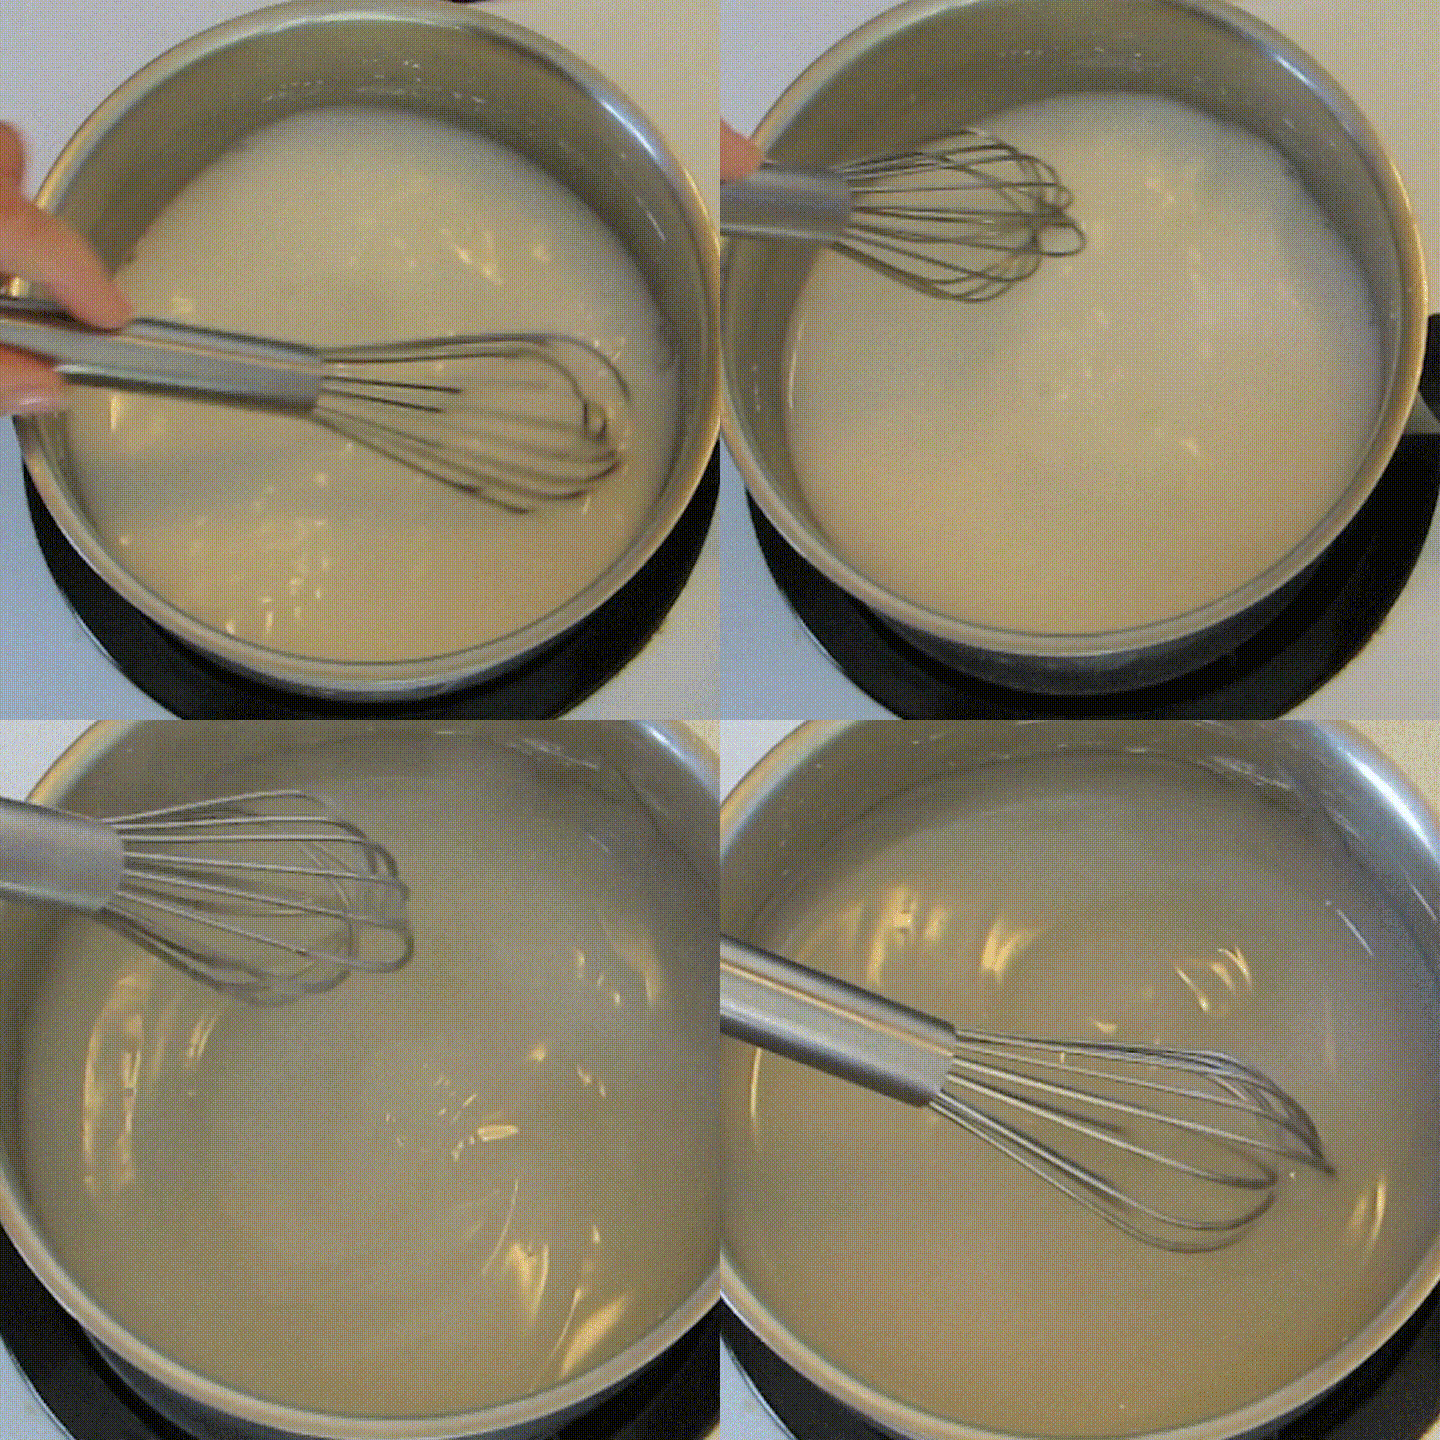
Turn on your stove and set it to medium heat. Whisk the mixture together until it forms a gel-like consistency.
STEP 3
Add the mixture and six tablespoons of bleach to your metal bowl. Whisk the mixture until the ingredients are combined and form a smooth texture.
STEP 4
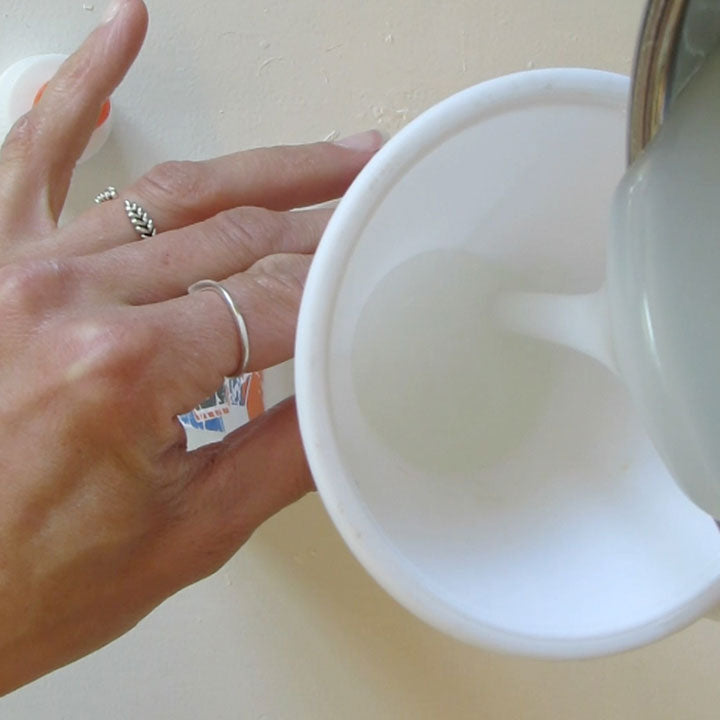
Use your funnel to add the bleach mixture to a small squeeze bottle. We like to use an old glue bottle because it has a fine tip.
STEP 5
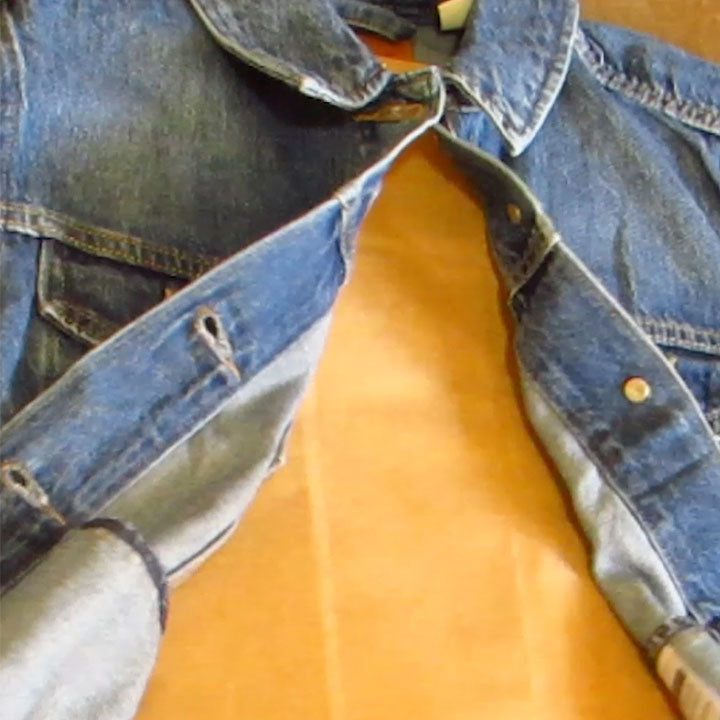
Things are about to get messy. Lay down some newspaper or cardboard onto your table to prevent it from getting damaged. Also add a layer to the inside of your Trucker Jacket in case the bleach mixture soaks through the fabric.
STEP 6
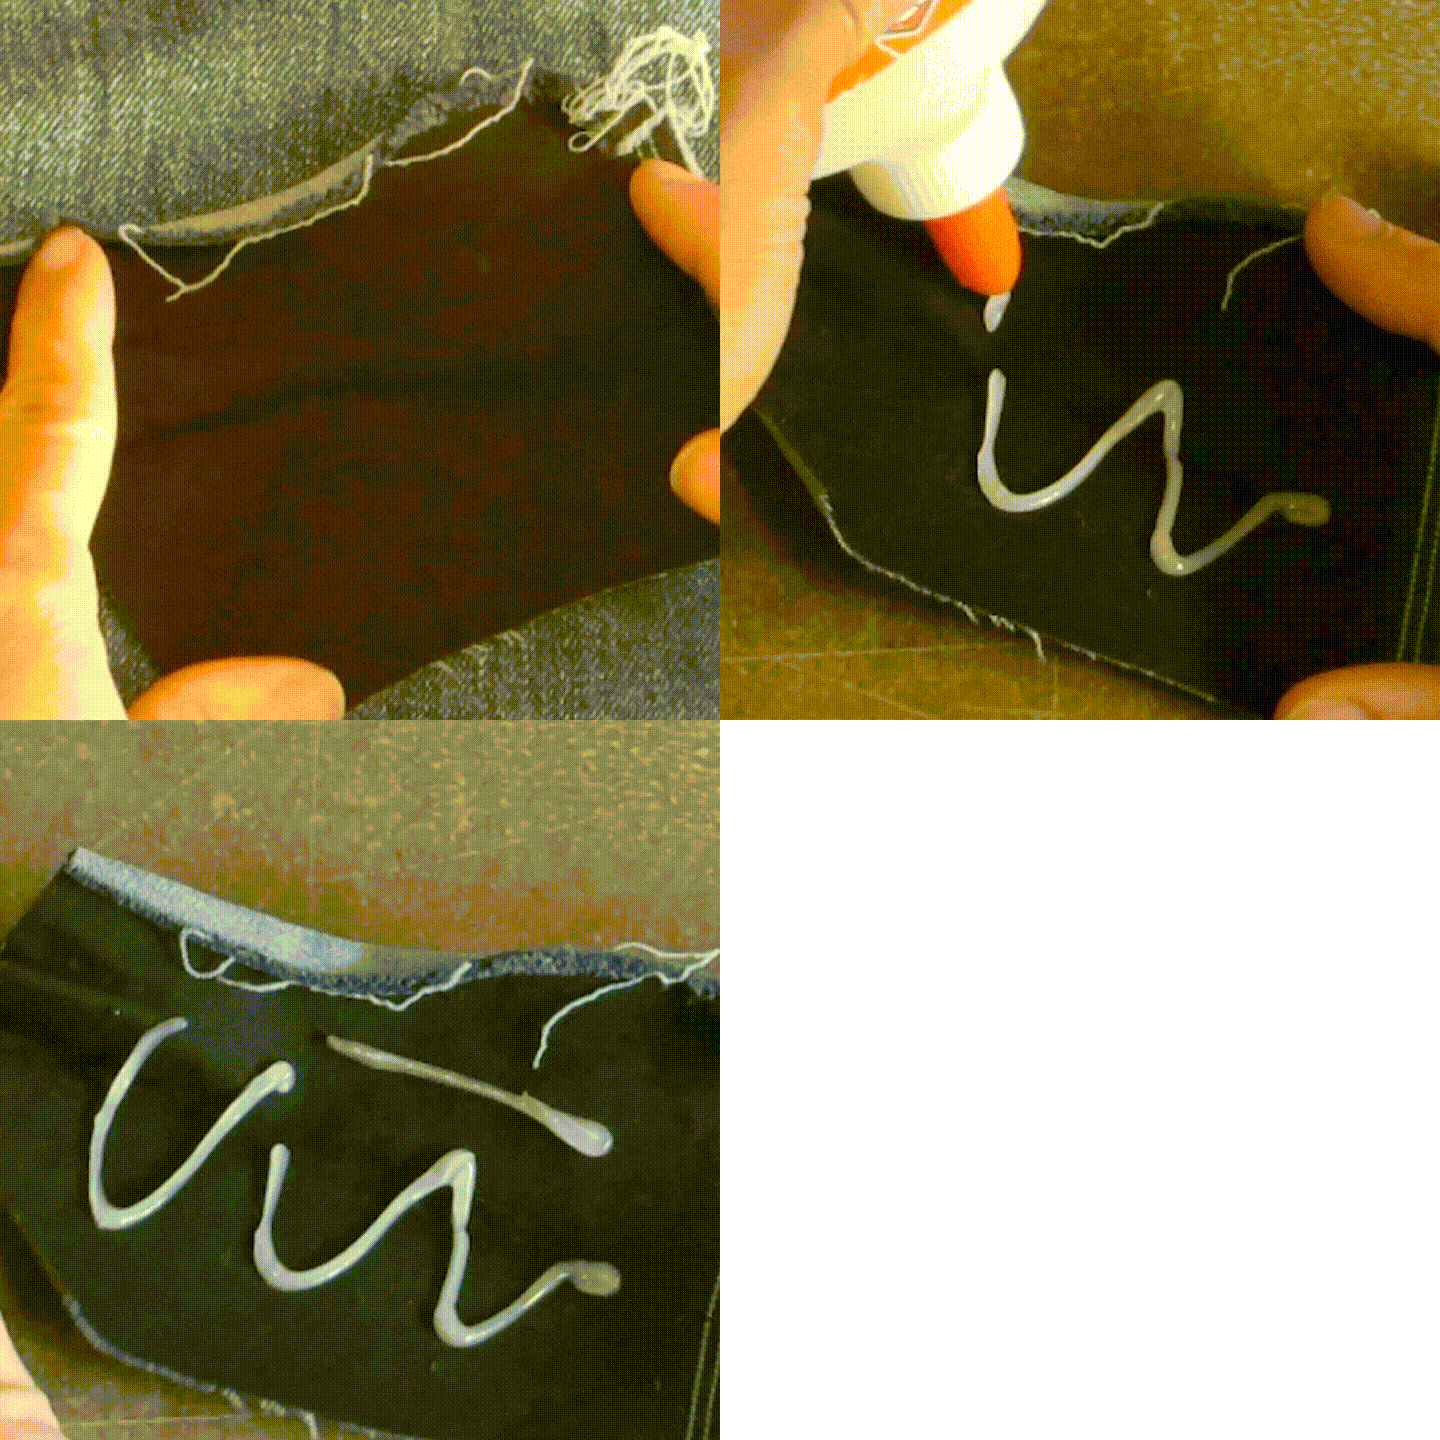
Check the consistency of your bleach mixture on an old fabric scrap.
STEP 7
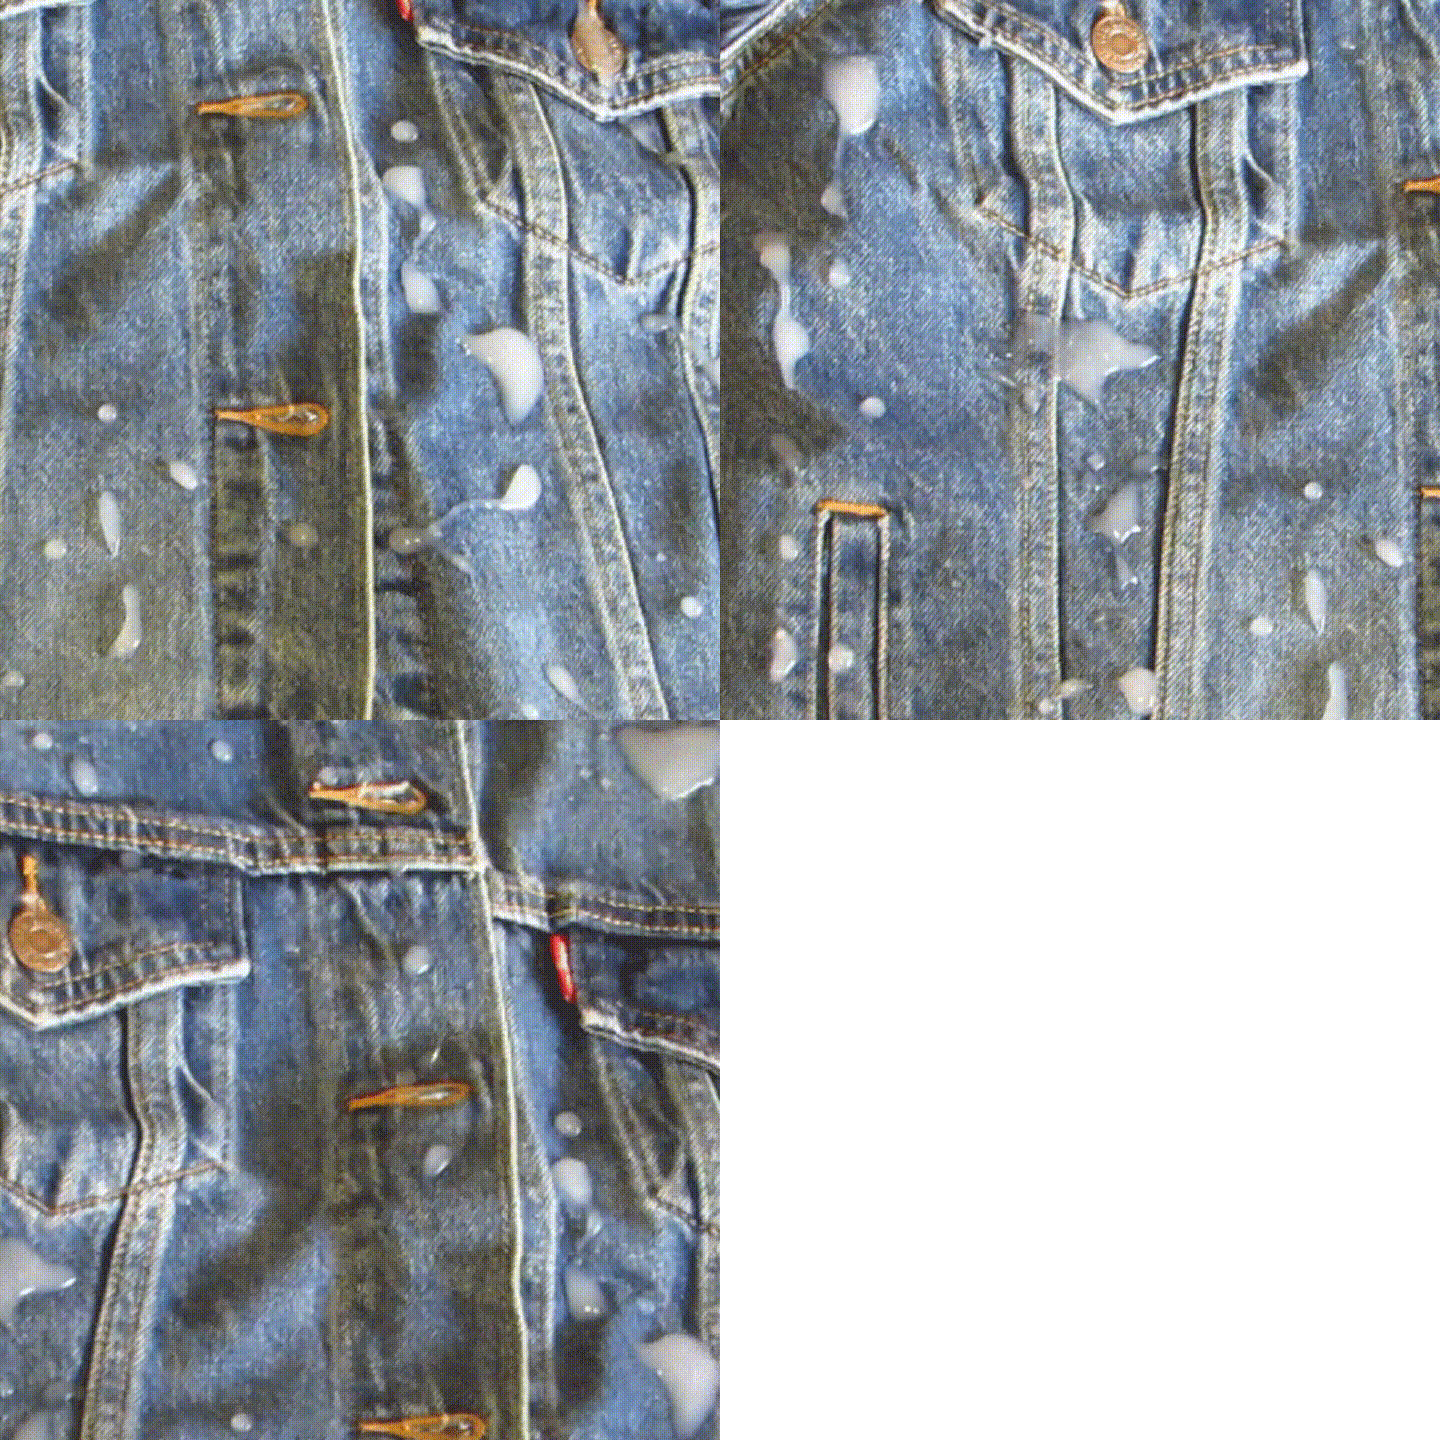
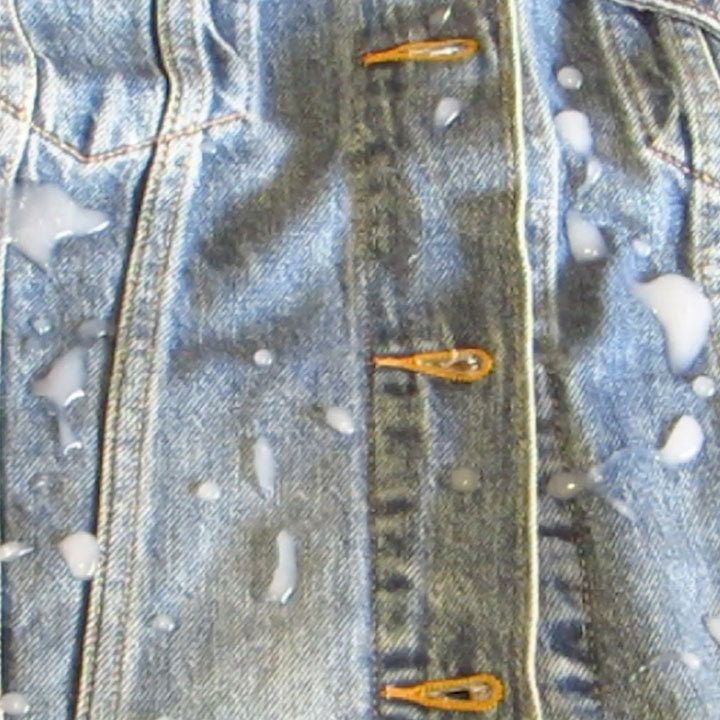
Now for the fun part. Pull on your gloves and splatter the bleach mixture over your jacket. You can freestyle your design or find inspo online—the options are endless.
STEP 8
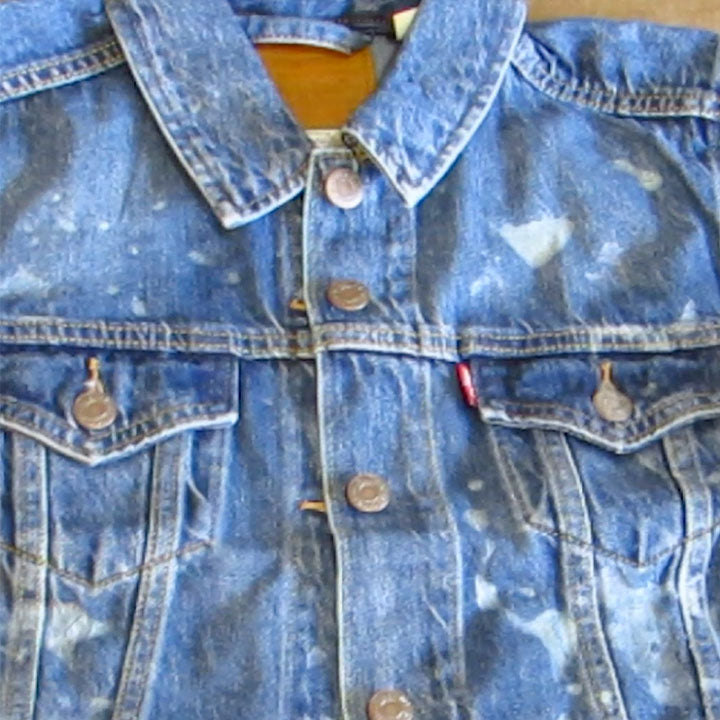
Let the bleach mixture dry for 30 minutes. If you want the design to appear lighter, let it sit for an hour or two. Then throw your Trucker Jacket into the washing machine with cold water and regular detergent. Lastly, dry the jacket by hanging it outside or using a dryer.
STEP 9
Ta-da! You’re all done. If you loved this DIY project, you can create the same bleach design on a pair of jeans.

